Search This Blog

Saturday, December 21, 2013

A VISIT TO DAVID BARROWS' CAT MOUNTAIN AND SANTA FE 2012

A visit to David Barrows' layout in Austin, TX in 2012.  Awesome railroad.  Years ago (1980's with Mark Bridgwater?) I operated the original Cat Mountain and Santa Fe and that was an amazing experience to say the least!  The Cat Mountain was one of my favorite railroads to operate.  The other was the Virginian and Ohio in Dayton.  I operated there in 1976 I believe!

David's new layout is much simpler that the old CM.  Much as been said about the simplicity of the new layout, however, I found it to really be perfect.  No, it's not just a plywood table top.  It does have scenery, buildings, etc.  I thoroughly enjoyed the layout and my visit with David.  Thanks again David!  I look forward to returning.


STRUCTURES BUILT FOR THE CPRX BY JOEL MORSE

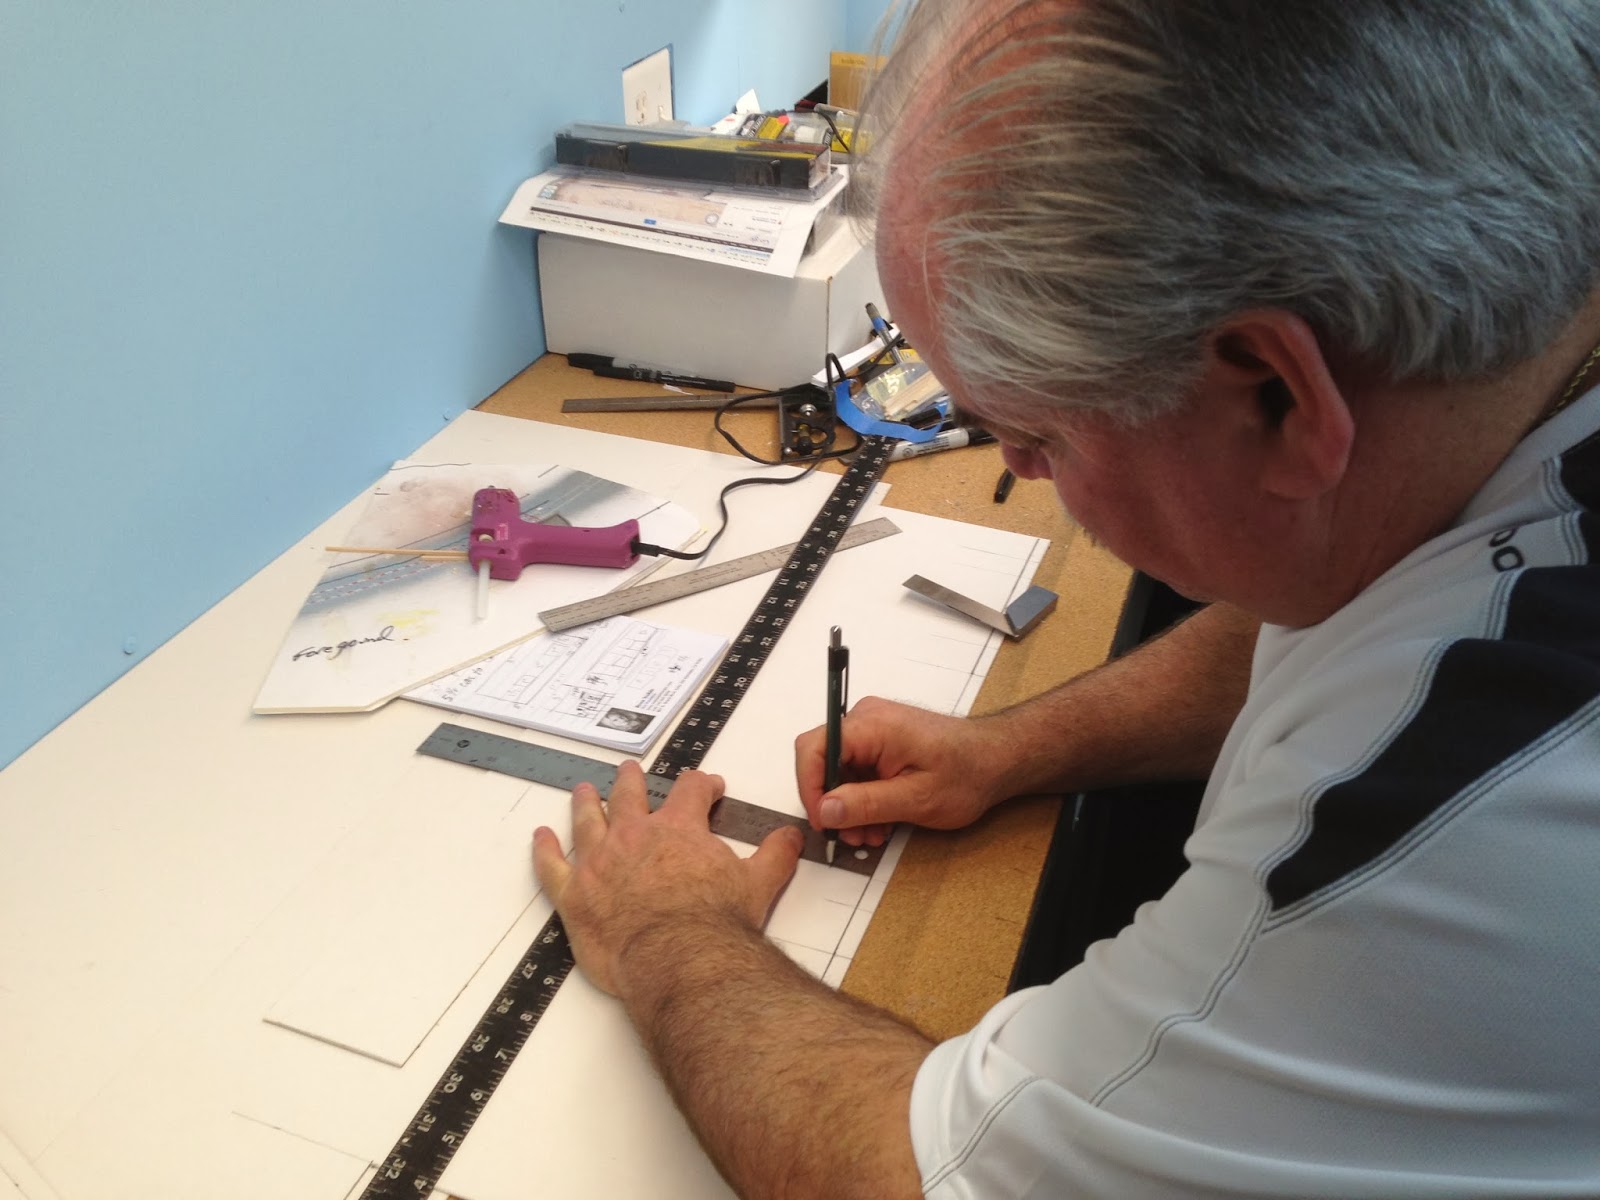
Since I've had no time to build structures with all the other projects, Joel offered to build some for the railroad to make it come to life a little more.  Thank you Joel!  These are temporary structures to occupy space and give the railroad somewhere to set out and pick up cars.  The names of the structures are the actual names of the industries that will be modeled.  Here is a series of photos of Joel's work.  The first and second are the master at work and I can't thank him enough!

Joel Morse bangin' 'em out!

Lestico Automotive Supply (for guess who)
Lestico Automotive Supply
The Sunmaid facility
Another view of Sunmaid

The Dole facility
Martyn Bridge & Signal (Again for guess who)
Valley Organics
Lopez Paint Company
Fresno Plastic Company
Railex facility

Below are photos of the building process.


Sunday, October 20, 2013

Updates to the RR in Preparation for the First Op Session in Ages!


I have spent hours and hours preparing for the upcoming op session.  Today I finished updating the signage around the railroad.  I believe it's more obvious and more readable.  I've added signs and updated old signs with larger print.  And today I created a temporary GCOR for the crews.  All this is to make operating the railroad more enjoyable and understandable.

Frank Kenny CPRX Railroad President

Sunday, September 15, 2013

Wifi!

Yesterday I visited Joel and we installed lighting over the new section of RR.  When we were complete, I asked him about my staging yard panel and how it feels when he/guests are operating it.  The discussion lead to scrapping the panel for a touch screen panel, mainly due to the fact that I am not excited about doing more wiring...for anything!

Ultimately I'd love to have a touch screen to work at least the staging yard, but honestly, a touch screen would be ideal in several locations on the RR.  Doing some research I ran across a few youtube videos by Arthur Houston that were very helpful.  And finally I found a project that I didn't have to do anything to complete!  The only thing I had to do was download the WiThrottle app to my phone and my iPad and to my utter amazement, everything worked fine!  I already had wifi in the house for my computers.  The layout was already connected to a PC and Loconet.  I was already in business!  This was, to me, like getting the DCC to work for the very first time in 1994.  Awesome!  Here are a few photos.  And when you come over, if you have WiThrottle on your phone, you can run trains with that.
This is where you set the address of the loco(s) you want to run.

This is the whole JMRI panel on the phone.  I can get this on the iPad too so the dispatcher can simply sit in another room or outside the house if he/she wanted to.  Awesome!  I need to make another panel solely for the staging area and that will load up too.

Here is the throttle section.  All functions for each sound loco are there, just scroll down.

In the end, this is an amazing addition to the layout.  We'll be testing this on Sept. 21st.  I'll be researching touch screen monitors now.

Interested in attending on the 21st for a test session, let me know at CPRXmodelRR@gmail.com.
Frank Kenny

Sunday, September 8, 2013

First Test Complete!


Joel Morse, Dave Sheehan, Wayne Lawson and I tested the updated system yesterday and it tested well!

In my last few posts I discussed how the layout runs great with just me playin' around.  But when the guys would come over, all Hell would break loose.  Of course, no one believed me that it works fine when they aren't there.

In working with Brendan Fraiser and Duncan Cabassi from Australia via email, Brendan suggested there was not enough power in the UP5's.  Long story short (you can read about it in my previous post), I ran a buss, one for each room, and connected all the UP5's to that buss.  Now there was more power in the system to run all the throttles needed to run the layout and now everything seems to run fine.

In yesterdays testing, it appears I may have a bad UP5, which I will test and replace if necessary.  Other than that the throttles and trains ran great.

One other issue reared it's ugly head AGAIN.  That is the slot max issue.  This is a random thing and there is no reason for it.  This time was unusual because as I fired up the computer to review the issue in JMRI, all I had to do was open the slot window, and the issue resolved itself.  Wierd!  See you soon slot max!  I'm gonna getcha!

Unrelated to any of this, I noticed another issue.  That is that there appears to be power coming IN from the track in a certain section, 1v, enough to light the power on LED on the DCS100.  Lots of testing later did not produce a source.  Still working on that.  Not sure if it is actually causing a problem or not.

It's been very hot the past couple weeks, even near the coast where I live.  As a result, I had two sections of track where the feeder wire came loose.  It's nice to have an easy fix once in a while!  Actually, can I get those more often instead of the ones that are just a bear to figure out and solve?

It was so fun to run trains yesterday with the guys and I ran some after they left, mainly to reposition trains back to their last location in JMRI.  There is hope!

Thank you to Brendan Fraiser, Duncan Cabassi, Joel Morse, David Sheehan, Wayne Lawson and Phil Klein for all your patience and help.  Without you guys I would have a nice clean garage with two lovely cars in it!
Frank Kenny

Saturday, August 17, 2013

UPDATED AUG. 30...UP5 Power Up Starts!...And Continues!...Argh...and FINALLY DONE!


It's been a long haul with the DCC system.  From returning parts to Digitrax numerous times to buying duplicate components just because one is in the shop, etc.  I've had numerous DCC knowledgeable people here to figure out and solve the issues to no avail.  It's been a long haul!

In meeting a new friend from Australia, Duncan Cabassi, I've met other model railroaders over the internet, all super guys.  One, Brendan Dennis, knows much about DCC and Digitrax.  He has suggested that perhaps power in the Loconet was low, which when tested it is, 6.5 & 7.9.

The UP5 manual gives a few options for installing them.  They are, power to the UP5 is optional, or use the +Common connection, or apply power to the DC jack.  Way back when I installed the UP5's, I used the +Common connection.

Brendan suggests this is the problem.  With 14 UP5's on the layout, this is simply robbing Loconet of the power needed to operate properly.  It makes sense!

So, today, August 17 my project is to string 2 busses, one in the Traffic Center room and one in the main layout room.  All 14 UP5's will be connected to this buss by the end of the day.  I'm not quitting until it's done!  Then I'll test the Loconet power and report back to y'all.

Wish me luck!!!
Frank Kenny

August 18 - Well, in typical fashion, this project went about as fast as a snail missing one foot!  (pun intended)  I was only able to get the staging room 90% complete, still issues with voltage to the UR91 and it seems one UP5 isn't working properly.  The wiring is in however.  I started at 8am and finally stopped at 9:30pm.

In the main room I was only able to get 5 of 12 installed, one of the 5 still has voltage issues.

The biggest thank you in the world goes to Brendan Dennis for his assistance from Australia!  We had at least 50 emails back and forth trying to resolve the various unexpected issues that cropped up.

Unfortunately I only have a couple hours to work on this today.  It was supposed to be done yesterday to stay on the ops schedule and next weekend I'm unavailable so I'll have to carve out some time to finish this project during the week...not a very good option

Back at it today.  Again wish me luck!
Frank Kenny 

A little update... here is what the connection looks like...more details later.

This photo shows a section of wire getting ready to solder to the plug.

The above photo shows how I solder it.  It's important to make sure the red and black (or whatever color you use) wires are always soldered to the same pins on the each plug.

I wrap a piece of electrical tape around the longer pin and solder connection to make sure when the cap is put on that the two pins don't touch each other, causing a short.  On some of them I wrap both pins, just to make sure nothing touches.

AUGUST 30
Those that know me well know that I LOVE electronics and can't wait to get to the next electronic project.  NOT!  I despise anything to do with electricity.

Fortunately two awesome guys from Australia were willing to help keep me from jumping the bridge!  A BIG THANKS TO BRENDAN DENNIS AND DUNCAN CABASSI for their help.  This was a long project, that seriously should have been a quick one, looking back.  Without their help I would have been parking my cars in the garage (ex train room) by now.  Thanks guys!

Long story and 3 power supplies later, it's done!  I'm getting 15 & 11v in the main room and 13 & 10v in the traffic center.  All good there.

NEXT PROJECT...Why doesn't the damn duplex work???


Sunday, July 7, 2013

Finally Moved the Printer!

My old printer was been sitting on my Ops desk forever.  When it died and I purchased a new one, that new one had a different footprint.  It was a little smaller, however, the paper tray protruded out over the desk.  I swore I was going to build a shelf for it.  Well, that was about 9 months ago!

In my very productive weekend this weekend, I finally got around to building that shelf.  In the first photo, the spot where the printer was is the open space to the left of the new location for the printer.  You can see how far the paper tray protruded out, making half the desk unusable.  Now the printer sits over the arrival tracks to staging and is closer to the isle where one would need to grab a manifest.  Perfect!

The open space is where the printer used to be.  The protrusion of the paper tray, left only about 6" of usable desk space.

The new printer shelf allows trains to arrive into Roseville and Stockton staging.